Dynamics 365 Business Central is a business management application designed for medium-sized businesses. From one application, businesses can monitor and manage their accounting processes, financial performance, supply chain, sales and marketing processes, and project delivery.
Before you can access data from customers using Dynamics 365 Business Central for their accounting, you need to set up a Dynamics 365 Business Central integration in the Rutter Portal. You'll need to:
- Register and configure your Dynamics 365 Business Central application, and retrieve your secure keys.
- Add your secure keys to the Rutter Portal.
- Enable your Dynamics 365 Business Central integration in the Rutter Portal.
We also recommend that you test your integration using a trial Dynamics 365 Business Central account.
Register your application
Register your Dynamics 365 application on the Azure portal.
- Go to the Azure portal and sign in.
📘Dynamics 365 Business Central and Azure account details
If you already have a Dynamics 365 Business Central account, use these account details. If you don't, create an account before continuing.
To gain access to any Azure configuration that your company has already set up, for example, user authentication, enter your company email address when you sign up. If your organization is using Azure Active Directory (Azure AD) to control access to Dynamics 365 Business Central, ask your Azure AD administrator to add your account to the correct group.
If you're unable to sign up for a new account, contact your Dynamics 365 Business Central administrator. They may have disabled this feature.
- When you've signed in successfully, from the left or in-page menu, select Azure Active Directory. If you can't see this entry on the landing page, under Azure services, select More services and then select Azure Active Directory.Details of the tenant to which your account is connected are displayed.
- You might have been granted access to more than one tenant, so check the details are correct. If they're incorrect, select Switch tenant and choose the right one.
- From the left, or in page menu, select App registrations, and then select + New registration.
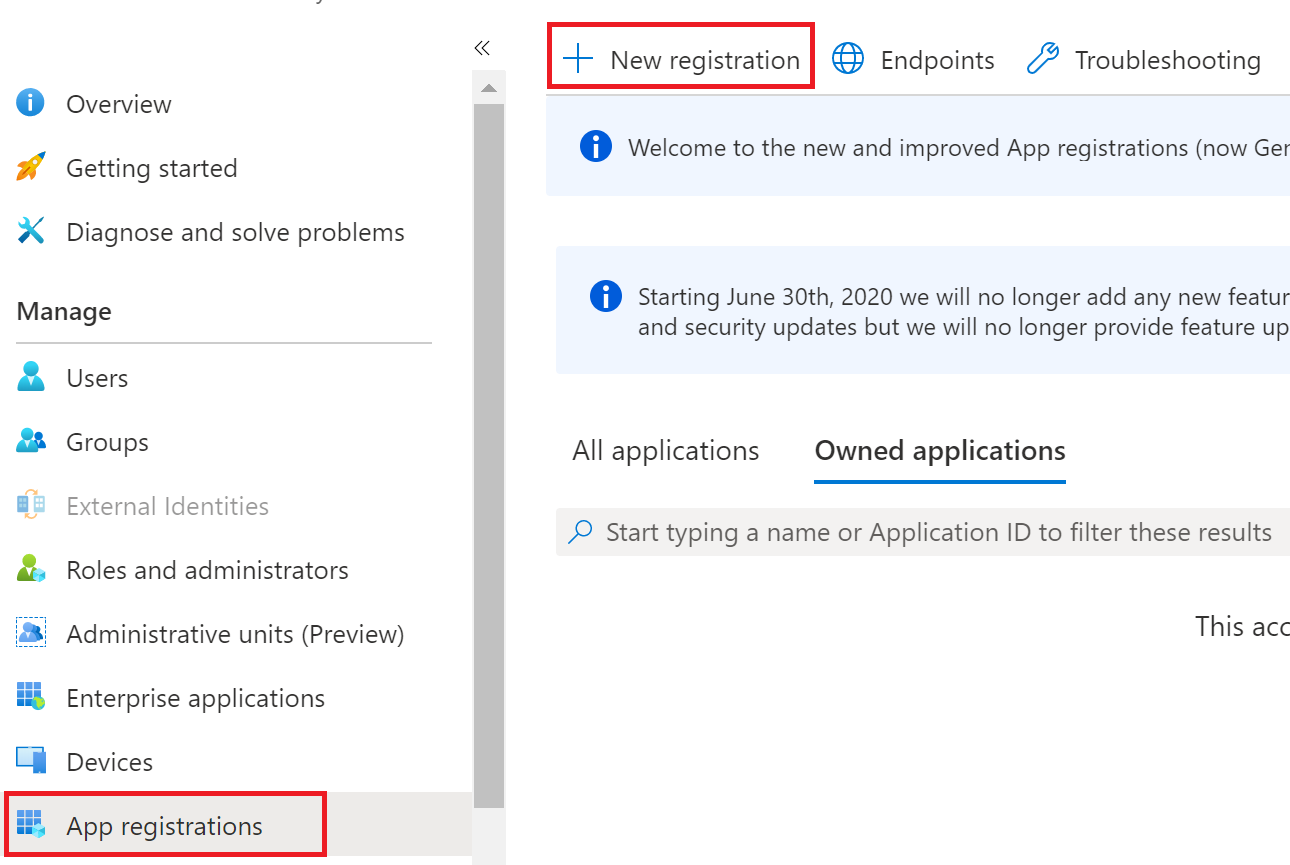
- Add the following details:
- In the Name box, enter a short name for your application. Your customers see this when they authorise your connection to their accounting system.
- Under Supported account types, select Accounts in any organizational directory (Any Azure AD directory - Multitenant) and personal Microsoft accounts (e.g. Skype, Xbox), which allows Rutter to access data in Dynamics 365 Business Central.
- Under Redirect URI, select Web and then enter
https://production.rutterapi.com/dynamics/redirect-url.
- Select Register.Azure registers your application details and generates your client ID. You'll need this later, so either copy the details or keep this page open in a separate browser tab. The client ID will not be displayed after you leave this page.